The islands of New Zealand are rather expensive to explore. Whether it’s by camper van, hitch hiking or biking, traveling in New Zealand takes a bit of work. For us, we had to figure out a way to make money while traveling in New Zealand. It was work, agricultural and hospitality work, that allowed us the freedom to explore the country otherwise we would have exploited our budget within the first month. With the ability to acquire a working holiday visa, we were able to accumulate funds and adventure in New Zealand for six months. We even discovered the secret to traveling New Zealand for as little as $1/day.
Our detailed guide to mastering the steps for getting your working holiday visa, getting a New Zealand bank account, applying for an IRD number and of course the types jobs you can look forward to once you’re there.

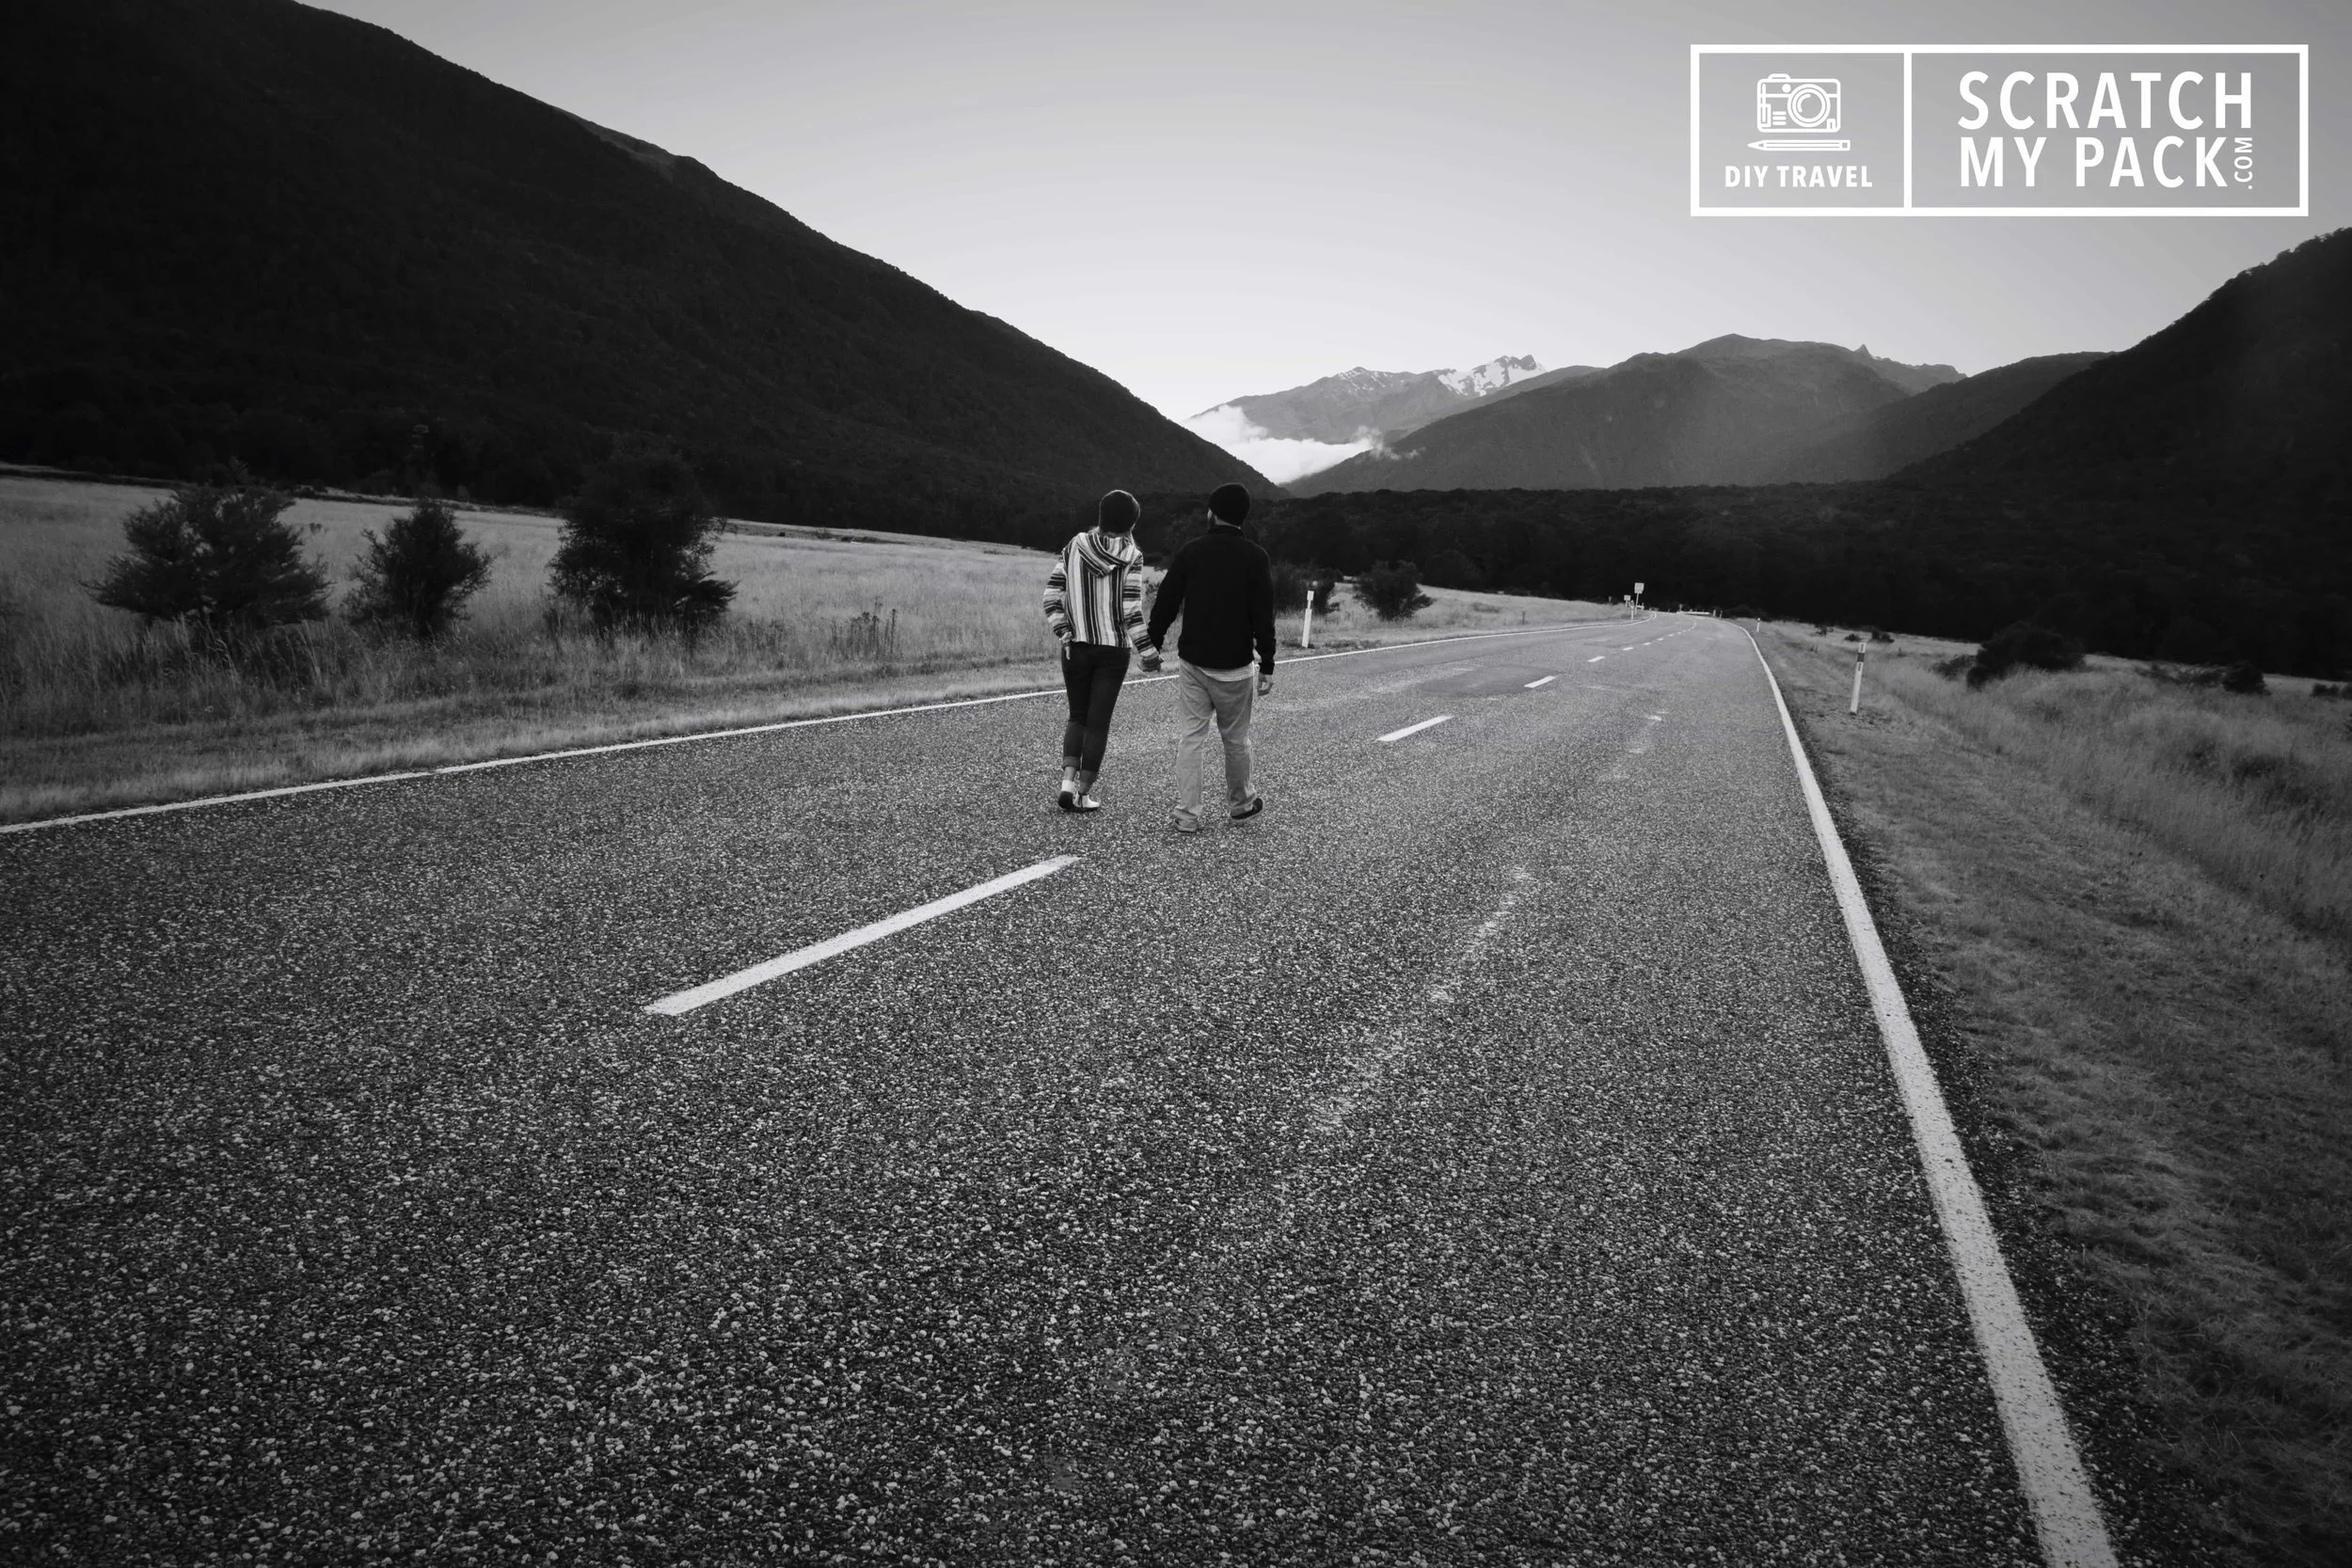
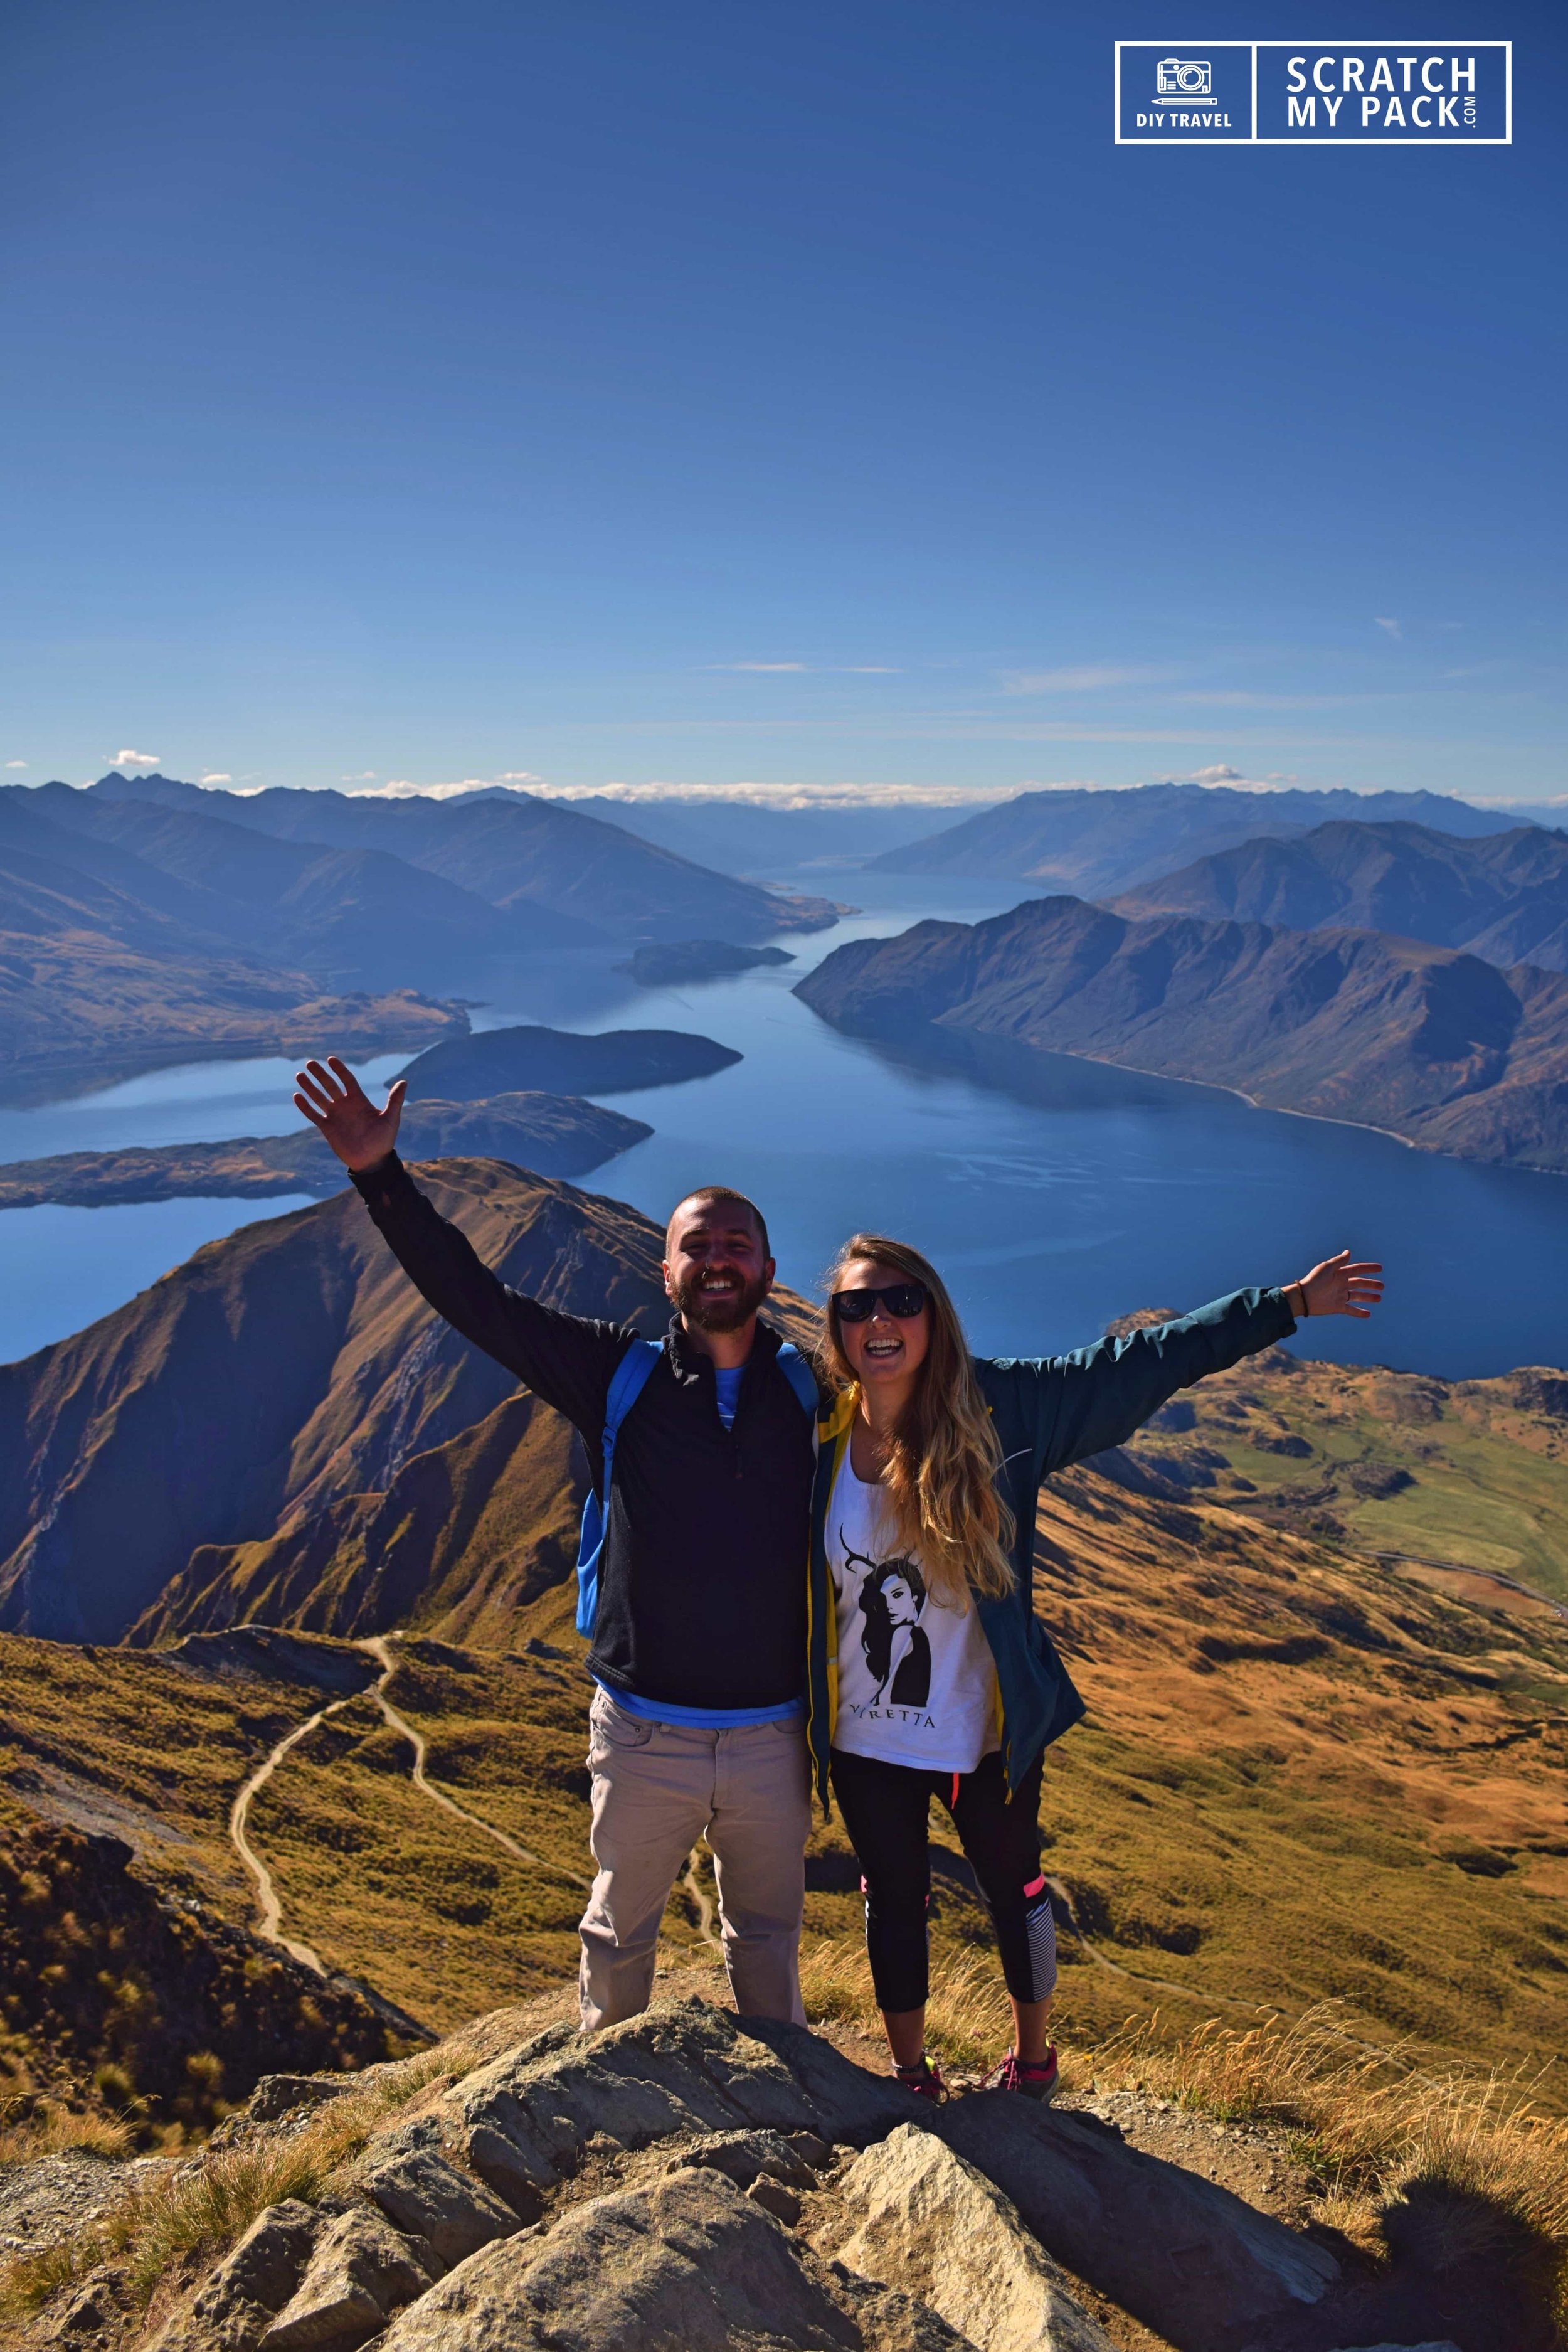
Wanaka, New Zealand
Acquire Your Visa Before Heading to New Zealand
Visiting New Zealand doesn’t require a visa for up to 90 days stay (for most countries), but to work in New Zealand, you’ll need the proper work visa. All applications for a working visa must be done online, and preferably before getting to New Zealand. You can apply for a work visa upon arrival, but there are quite a few extra hoops you have to jump through and a temporary visa you have to obtain while waiting for your application to be processed.
**We did learn that if you’re applying for a work visa from countries such as Spain, Chile, Argentina and Peru that it might be easier to apply for a visa once in NZ. They only open up the application to a limited amount of people for these countries (some as small as 200 people), but all of our friends who acquired a visa, came to travel first and applied once they were here.**
The list of different types of visas and the criteria you have to meet to get one can be found on the immigration website. We’ll be focusing on the USA working holiday visa simply because that’s the one we have and the one we can offer more information about. The information listed on this post will apply to all backpackers across different nationalities, except for this first bit about which type of visa to apply for— that is tailored to Americans.
Basic criteria to look for when applying for the United States working holiday visa:
The working holiday visa is free for persons ages 18-30 who are US citizens.
If you’re over 30, consider working visas such as the Specific Purpose Work Visa or the Skilled Migrant Category Resident Visa.
You may need to prove that you have at least $4,200 in order to support yourself upon arrival into the country.
We did not have this much money upon arrival in New Zealand as we had just spent four months traveling South America. The trick is having proof of this amount when applying for the visa not when entering the country. When we applied, we had proof of this amount in our accounts. We took a screenshot of our statements (blacking out all sensitive information) and attached them to our application. We were not asked to show proof upon entry, although we had a copy of that screenshot printed out anyways.
Thoughts on how to prove sufficient funds: you can concentrate all your accounts into one account that reads this amount. You can politely ask from a family member to borrow a sum of money to equal out to this designated amount upon promise that you’ll return the money. You can talk to your local bank branch and request a loan for the designated amount and explain your situation and plan to payback the loan immediately. You’ll need to screen shot your bank statement for proof on your application or you might be asked to mail in statements (unlikely). The government simply wants to ensure that working holiday visitors are not stranded in New Zealand and attempting to apply for government assistance. The $4,200 also ensures that visitors have a sufficient amount of funding in order to buy tickets out of the country. In knowing that we had just enough money to get us started in NZ as well as enough flight miles to get us out of the country, we were confident in heading to NZ w/o the $4,200.
You need proof of exit.
We have heard horror stories of fellow travelers being denied entry into a country because they didn’t have any proof of exit. This has not been the case for us or for our time in NZ. We arrived at the border visas in hand and no proof of exit, and we encountered no problems. This might have been attributed to our ability to prove sufficient funds upon applying for our visa OR it just really isn’t an issue and it’s just something the immigration website has to list.
IF YOU ENCOUNTER TROUBLE with this step our best suggestion is to find the cheapest flight possible out of country close to the time when your visa expires and invest in the full insurance on the flight so that you can cancel it once you’ve made it through immigration and subsequently get a full refund. Cheapest flights are often to the Gold Coast of Australia. They want to know that you’re leaving, but as long as you abide by the dates of your visa it doesn’t matter if, when, and how you leave the country.
You must have a clean criminal record.
You’re requested to provide information about your criminal record upon applying for the visa, but they’re not asking for a police report. Answer honestly and you’ll be fine. Unfortunately if you have any felonies or outstanding warrants, your application will likely be denied.
You need to have health insurance for the duration of your stay in New Zealand.
At first this step provided some concern as we were both planning on dropping our health insurance for our year of travel when we applied. We understand that some backpackers are roughing it without insurance or travel insurance and that is understandable. It wasn’t an issue on the application. BUT you can always consider getting travel insurance for your duration away from home. World Nomads has travel insurance for backpackers, that we personally don’t have, but we’ve heard good reviews from other travelers.
You must have a valid passport.
With most visas, your passport must be valid for the duration of your planned visit. Some visa applications will not accept passports that are within 6 months of expiration.
Understanding How The Visa Works
The working visa is valid for 12 months for US citizens. For Canadians and citizens of the UK it’s valid for up to 23 months. If you apply for your visa like we did, far in advance, and you’re approved, you have up to a year from the approval date in order to enter the country. You’re visa is valid and active for 12 months upon entering the country. The date listed on your visa after approval is the last day you can enter New Zealand to start your 12 month visa. Upon arrival you’ll get a stamp that lists the last day you can be in New Zealand working legally.

Zumo Coffee House, one of the amazing places we worked in Nelson, New Zealand
Bringing Paperwork To New Zealand
Upon approval of your working holiday visa, print out at least two copies of your e-visa for good measure. You’ll need to present your visa at immigration upon arrival in NZ and you’ll need to mail a copy of your visa in with your IRD application (IRD is a New Zealand social security number that allows you to be paid legally as a worker in NZ).
IF you were required to submit a copy of your bank statement when applying for your visa then bring a copy of that statement with you provided you black out any crucial sensitive account information.
Tips For The Airport
Environment Safety Screening:
An important part of the immigration process when landing in New Zealand is checking for an possible contaminants that will affect New Zealand’s ecosystem. They are an island after all and so they want to protect their landscape from foreign bugs and plants. They take this process very seriously. They have videos, signs, and several reminders to warn incoming visitors to claim any camping gear or outdoor gear upon arrival. They ask visitors to claim camping gear used in the last 60 days, as well as hiking boots used used for trekking in the last 30 days. Just claim it all even if it seems ridiculous. If it has to do with the outdoors— claim it. Claim your shoes as well.
Even if it’s outside the listed dates or if your equipment is brand new, They have a fine of $400 if they find any unclaimed outdoor equipment that they potentially have to test for contaminants. They scan and search all incoming luggage anyways, so you might as well protect your pocket by claiming your gear and having them tell you it’s all good rather than not claiming anything and having them fine you without any room for explanation. We had a hammock (only used once in the last six months) and we both had hiking boots which we hadn’t worn for trekking in well over a month, but they tested our boots (thoroughly cleaning the bottoms of them) and we were on our way without a fine.
Staying Connected:
We highly recommend if you’re planning on working in NZ to get a local SIM card. A great place to get it is at the airport. It’s duty free when you get a SIM card at the airport and they have plans as low as $12 a month for data and calls. This is going to save a lot of hassle when applying for jobs, when you’re setting up your bank account, and upon applying for an IRD number. We used Vodafone and it took us less than five minutes to get a SIM card and a NZ phone number.

On New Zealand Soil
Once you’ve made it to NZ, there are a few crucial things you need to do before you can get a job and begin legally making money. You’ll need a bank account, an IRD number, and a proof of address in NZ. The process to get these three crucial things, relies on achieving them in the right order and having access to the right information. We successfully navigated our way through the system while in Auckland but decided to work in the south island.
STEP 1: Getting A Proof Of Address
Proof of address can be any legal document stating your permanent address, possibly a host family stating that you are staying at a permanent address in NZ, or in our case we had a letter from a hostel. We stayed at a horribly unfriendly, and dirty hostel in downtown Auckland for one night just so that we could get a proof of address which they provided and authorized for a $10 fee. We looked into it and most hostels are willing to provide proof of address to residents for free - others provide it for free after one week minimum stay. We just happened to be uninformed and because Auckland is a major (expensive) city, we went with the cheapest accommodation in order to get our proof of address. Though our hostel (Surf & Snow) was a horrible stay, we were able to get a proof of address that was acceptable for an IRD application.

The 8ft X 8ft Converted Shed We lived in for $60NZD/ week

STEP 2: Using Your Proof of Address To Acquire a Bank Account
There are only a few bank branches in NZ that will accept a proof of address from a hostel. We found that ANZ was the best, but we’ve also encountered backpackers that used WestPac or KiwiBank. Being in Auckland at the cusp of high tourist season (late November to early February is NZ summer) we had to schedule an appointment with ANZ to set up new accounts. You can either go into a branch and set up an appointment with a specific branch which could be weeks out, or you can call the ANZ customer service number to set up the next possible date in a surrounding branch. We called and we were able to get an appointment the next day.
You need to bring with you to the bank:
proof of address
passport
e-visa
minimum deposit of $20 (for ANZ)
When setting up an account with ANZ, opt for paperless statements in order to obtain a truly free account. You will be provided with two accounts automatically. One, is essentially a checking account (Go Account) and one is a savings account (Online Account). It is highly recommended that you deposit a minimum of $20 when setting up the account.
STEP 3: Obtaining A New Zealand Bank Statement
Part of the application for an IRD number requires that you provide a bank statement from an accredited New Zealand bank. We were told that having both deposits and withdrawals on the statement provides the best situation for IRD approval. We simply deposited $200 into our Savings Account using an ANZ ATM, then we made a transfer online between our two free accounts, and finally we made a withdrawal at an ANZ ATM. Within five minutes, we had made a few necessary transactions with our new accounts.
To obtain a bank statement, you’ll need to visit your local branch and have them print out an active statement in order for it to be official. Unfortunately, ANZ charges a $2 fee every time you need to talk to a bank teller so it cost us each $2 to have this printed out, but it’s a necessary step in getting an IRD number.
STEP 4: Applying For An IRD Number
After you’ve obtained a bank account and acquired a proof of address, you’re ready to fill out the application for an New Zealand IRD number. This is essentially a temporary NZ social security number which allows you to legally collect wages in NZ and allows you to claim a refund when exiting the country.
You can apply for the IRD online, but we opted to do it in person so that we weren’t missing anything. We filled ours out at the local post office, who walked us through the process and filed it for free.
You need to bring with you to the post office:
proof of address
passport
e-visa
NZ bank statement
After filling out the paper application the government official at the post office will take all other necessary documents and make copies or hold them in order to mail with your application. We had no problems using our proof of address in Auckland to apply for an IRD in Nelson (south island). We also had no problems in showing a statement that only had two transactions on it.
The process of approval takes a minimum of ten business days. It’s best to set up an option for e-mail notification so that you can begin work immediately rather than waiting for it to come in the mail. We were also able to call the IRD customer service line and check if our application was being processed or had been approved.
Fully Approved and IRD Ready To Get A Job
There’s plenty of work in New Zealand for working holiday visa holders it’s just a matter of persistence and placement. When we first started working we took any job that came our way. We had intended to work in Blenheim, which is where the South Island vineyards are concentrated, but we were swept away by the beauty of Nelson and the Able Tasman National Park. We did everything possible to put ourselves out there in order to get a job.
Tom took a workaway job at the Prince Albert hostel to obtain free accommodation and while we were at the hostel, we perpetually checked the local board for jobs. We had the chance to do some gardening (more like intensive landscaping) for a local family which paid cash and provided us with meals and then we found a job at a vineyard. We had the pleasure of working at Te Mania in Richmond for about three weeks, doing some intensive labor during the early stages of growing the grapes for wine. It was a wonderful set of circumstances that brought us the job at the vineyard, but it was extremely hard work and because it required us to rent a car to get to work, we were barely breaking even.
We instead set out to acquire jobs in hospitality where we could live and transport locally to work.
Types Of Jobs That Are Available
Hospitality— restaurants, cafes, hostels, venues, hotels etc.

Nicolas Cantina, by far the best Mexican Food in New Zealand
Benefits of Hospitality Work:
Working for and with the locals
Potentially less physically demanding
Flexible hours
In Nelson, many restaurant jobs offer a staff meal for employees who work a minimum 4hr shift
Opportunity to make tips (it is not customary for people to tip in NZ)
There is always work in hospitality if you are willing to look for it; ability to work based on where you want to travel rather than travel based on work
How To Apply:
Hospitality, as the name suggests, is based on face to face relationships and customer service— apply in person
Bring in copies of an updated CV
Assess busy times (lunch/dinner rush for restaurants; breakfast rush for cafes) and DON’T try to apply during that time
Follow up in a few days, to separate yourself from the stack of traveler’s CVs they get any given day
Costs of Hospitality Work:
Hours vary as restaurants operate on the customer’s time not the employee’s
Fast past and demanding depending on the time of year
Long hours on your feet
Working on weekends
Not guaranteed hours if business is slow
Can You Look For These Jobs Before You Get To NZ:
Most likely no.
You can look on websites and backpacker boards, but with hospitality the turn over rate is unpredictable and so you’ll have better luck pursuing avenues of work in person. They most likely want to meet you and see that you’re more than a piece of paper.
How To Find These Jobs:
Best to look for these by going in and asking/applying personally
Find a town you like and actively seek out help wanted signs
Enquire about work around town with hostel owner if you’re at a hostel
Join a Facebook group like NZ Alone, (Nationality) in NZ, or work in NZ
Search the job section on Trademe which is NZ’s version of Craigslist
Notes About Hospitality Work:
There seems to be 2-3 rounds of interviewing in NZ, based on our experience of 4 different hospitality jobs here)
1st— interview with hiring manager assessing and answer questions that they have
2nd— attending a trial, meaning you work a shift of 2-4 hours to assess whether you’re a good fit (also find out if you like the job)
3rd— meeting with hiring manager and owner to discuss a contract if all parties like the job
Vineyards and Orchards— vine pruning, vine trimming, vine picking, fruit picking, etc.

Benefits of Vineyard/Orchard Work:
You get to work outside in the beauty of NZ
Your schedule depends very much on the weather; when we worked on a vineyard we couldn’t work in the rain and so if it rained we had the day off
You have evenings off, usually working 8-3 or 4
Breaks both paid and unpaid are regulated pretty heavily so you’ll have consistent breaks that make the day go by extremely fast
Costs of Vineyard/Orchard Work:
It’s demanding labor
Some jobs pay by the weight you collect; any of the fruit orchards pay by the weight which means any bad picks results in free labor (although if you’re efficient and know what you’re looking for it can be a good paying job)
Working outside means working with the whether conditions
Notes About Vineyard/Orchard Work:
You very much have to follow the vineyard work rather than catering it toward your trip and desire
Most of the time you need your own transportation and vineyards will naturally be out of town
Work is seasonal and you may have to sign a contract stating that you’ll work theentire season
Can You Look For These Jobs Before You Get To NZ:
Yes— if the anxiety of heading to NZ without a job is too much, then you can definitely set up a job working on a vineyard/orchard through the web
*We found that pursuing these jobs in person guaranteed a better pay (most vineyards using backpacker sites are paying minimum for manual labor), and by applying in person we weren’t locked into a contract with a third party
How To Find These Jobs:
Websites like pickers.nz, backpackers board.nz, and will have listings of the regions in NZ and based on the season what jobs are available
You can contact vineyards/orchards through these websites e-mailing a CV and cover letter
Some sites will guarantee to find you a job in a designated amount of time if you stay in their hostel
Some sites and sources have a “bundeled deal” that you get a discounted weekly long-term rate and a guaranteed job if you set it up through their services
Search the job section on Trademe which is NZ’s version of Craigslist
Keep an eye out for notices in hostels, supermarkets, and community boards
Volunteering and Trade Work— hostels, B&Bs, permaculture, farming, etc.

The Prince Albert Backpackers had a great volunteer program of cleaning in exchange for accommodation & breakfast
Benefits of Volunteering Work:
You often get free accommodation if you are working with a host family, with a hostel, or a B&B
Some opportunities offer meals as well as accommodation
Hours are usually minimal and set so you may have the opportunity to get a paid part time job while volunteering
Costs of Volunteer Work:
Unpaid
Accommodation, food, and transportation can get costly if you’re in a rural area
Some volunteer opportunities might not be worth the free accommodation if volunteer time could be used for a paid position at a different job
Can You Look For These Jobs Before You Get To NZ:
Yes— In fact most all of these opportunities it would be beneficial to organize before hand.
How To Find These Jobs:
Search the job section on Trademe which is NZ’s version of Craigslist
Keep an eye out for notices in hostels, supermarkets, and community boards
Notes About Volunteer Work:
Communicate as early as possible with potential volunteer hosts
Be clear about your plans and intentions to travel or find part time work
Advice To Future Job Seekers
Just like if we would have been at home, we needed a begin with a relevant and adequate resume. Here they would call it a CV.
Recommended things to include in your CV:
—Somewhere it’s stated that you have a valid working holiday visa (or whatever working visa you have), and a valid IRD number. You shouldn’t provide these until you’re hired or if it’s required during the interview process, but it’s good for employers to know that you’ve done the work to be a legal employee and not a liability should you be hired
—We found it helpful to include how long we were planning to be working. Arriving in late October we included that we could work until January to try an emphasize that we would be a valuable asset during the height of summer. If you’re arriving in the height of summer or during high season it’s helpful to be able to stay for the duration of that time, but it is not required. It’s up to the employer in the end
—Tailor your CV to the type of job your applying for. It’s unnecessary and looks rather unfocused if you include irrelevant work experience like fieldwork when looking for a restaurant job
— If you’re including a cover letter ensure that it’s personalized to the employer
—Decent summary of your travel plans doesn’t hurt
Advice From Hiring Managers In New Zealand

We spoke with our employers to see what specifically they look for when they’re hiring backpackers for the season.
—Be bold, be bubbly and be yourself. When hiring for positions at Zumo Coffee House Nelson hiring manager Jazz Hamilton and owners Allen and Annalisa Chambers, want to know that the applicant has a presence beyond their CV. They’re looking for applicants who are excited to be at work, early brewing up coffee. The fast pace atmosphere and the high demand of their amazing in-house-roasted coffee, offers employees a fun atmosphere at a good pay by good employers.
—Business owners and entrepreneurs Nicola Cantrick and Ross Colland run a delicious niche Mexican Cantina in Nelson in the hip part of Nelson. Their staff is consistently a rotation of eager backpackers and fun locals that they choose carefully. Applying on the phone or coming in during any sort of rush is an automatic 'no go' for Nicola. Be present, be part of the team and show that you want to be part of the Cantina family, because it really is a family.
Once You’ve Got The Job
Employers will offer you a contract if you’re suited for the job. Even in hospitality, employers are required to provide a contract. Some restaurants won’t, considering their high turn-over rate of employment, but it isn’t unusual to receive an eight page contract stating the employment laws of the country and how the employer plans to meet them. It’s advisable to read over the contract, obviously, but ask questions and understand the terms for terminating your contract. Ask questions about holiday pay if you are unfamiliar with New Zealand laws and opt out of Kiwi Saver (NZ retirement pension that will take extra out of your paycheck). Be sure to keep track of your hours and do your best to enjoy your time. It may be work, but you’re still traveling and experiencing life in another country and that’s pretty neat.
At The End Of Your Visa
In preparation to exit the country, there are a few items to be wrapped up before departing. Most banks will recommend backpackers to close their accounts before exiting the country. This is said to be more convenient and less of a hassle then trying to do it overseas. However, it is important to keep an account in which employers and the Inland Revenue can deposit final payments.

Transferring Money
We decided to liquidate our funds into one account (traveling as a couple) and send one big lump sum wire transfer overseas. The fees were absolutely ridiculous, but short on time, this was our only option. Other possibilities might include withdrawing funds at your local branch and securely bringing it home (ensuring it’s not more than the $10,000 that can be claimed at US customs). Consider paying a paypal account that is linked to your name to avoid overseas wire transfer fees.
Filing Taxes
Taxes are filed before July 7th each year. Backpackers should be able to logon to the secure Inland Revenue using their IRD number and account login (the e-mail confirmation with IRD number should have a link to set up your free account). Unlike in the US where you have to acquire W2s, New Zealand has all portent information collected in the IR database. Logging in should show any past employment in the country, year to date earnings (where does it all go) and taxes collected. They take a lot, so be prepared for that, but they do allow for refunds.
More to come concerning how to file taxes as a backpacker and refunds. As we’re still working and traveling we haven’t gone through the process quite yet.